How to Easily Free Up Gigabytes of Space on Your Windows PC
Windows storage fills up fast—especially after major updates, game installs, or video downloads. Fortunately, freeing up gigabytes of space doesn’t require advanced knowledge or risky tools.
Here’s how to clean up your PC safely using built-in features and reliable apps.
1. Use Windows’ Built-In Cleanup Tools
Storage Settings & Cleanup Recommendations
Go to Settings → System → Storage, then click Cleanup recommendations. Windows scans your system and shows removable items like:
- Temporary files
- Old Windows update backups
- Unused personal files
Deleting the Windows.old folder alone can recover 20–30 GB after an update.
Enable Storage Sense
Storage Sense automates file cleanup. Turn it on under System → Storage → Storage Sense, and set it to:
- Delete temp files
- Clear Downloads after 30 days
- Empty Recycle Bin periodically
More on how it works from Microsoft.
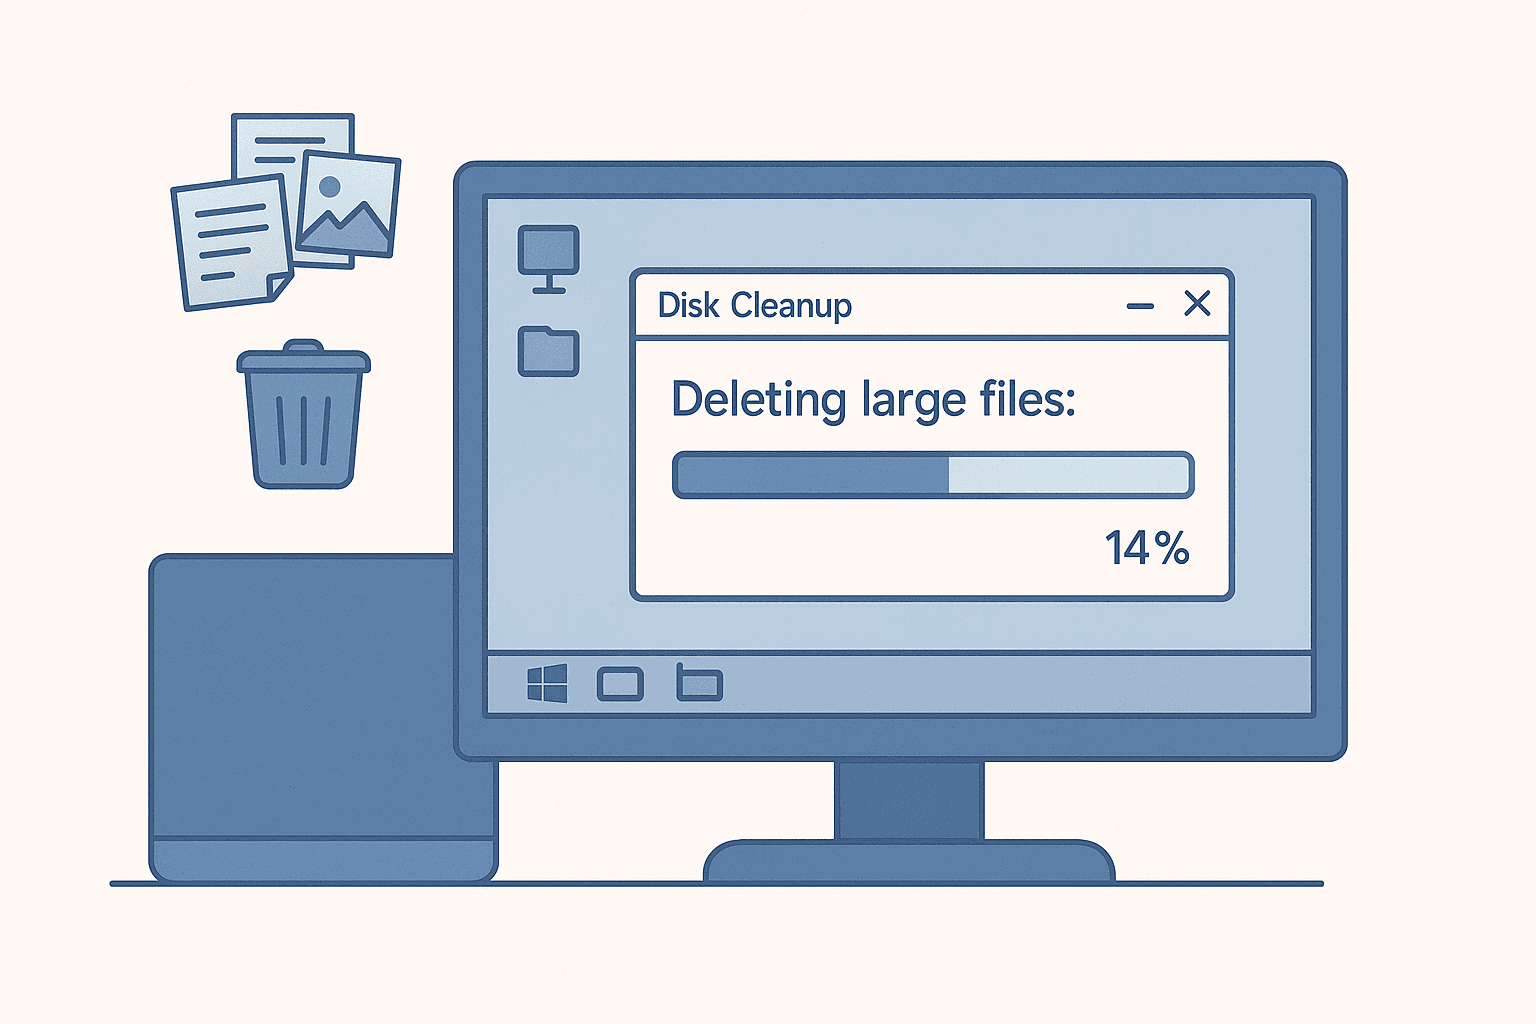
Disk Cleanup (Legacy)
Launch cleanmgr.exe → choose a drive → click Clean up system files. This allows removal of:
- Windows Update files
- Device driver packages
- System restore points
Deleting these can often reclaim 10–15 GB of space.
2. Clear Temporary Files and Caches
Manual Temp Cleanup
- Press
Win + R, type%temp%, and delete all visible files. - Then go to
C:\Windows\Tempand do the same.
Reset Microsoft Store Cache
Press Win + R, type wsreset.exe, and press Enter. This resets the Microsoft Store and clears any bloated local cache (Windows Central).
3. Find and Delete Large Unused Files
Use a disk analyzer like WizTree or TreeSize Free to scan and visualize large files taking up space.
Look in:
- Downloads
- Videos
- Documents
Sort by size and delete or move large items to an external drive or cloud.
4. Uninstall Large or Unused Programs
Go to Settings → Apps → Installed Apps, and sort by size. You’ll likely find large applications, games, or tools you no longer use. Uninstall anything unnecessary.
Steam, Adobe apps, and video editors can easily take 10–100 GB each.
5. Compress Windows System Files (Optional)
Run this command in Admin PowerShell:
compact.exe /compactOS:alwaysThis activates CompactOS, a Windows feature that compresses system files without harming performance. It can free 1–3 GB, especially useful on low-storage SSDs (Microsoft Learn).
6. Disable Hibernation (Optional)
Hibernation reserves a file (hiberfil.sys) equal to your system’s RAM. To remove it:
- Open Command Prompt as Admin
- Type:
powercfg /hibernate off
This deletes the file and can free 8–16 GB, depending on your RAM.
7. Delete System Restore and Shadow Copies
Go to Disk Cleanup → More Options → System Restore and Shadow Copies, and click Delete. This erases all but your most recent restore point.
Great way to free up multiple gigabytes, but do this only if your system is stable.
8. Offload to External or Cloud Storage
For large files you want to keep, move them to:
- An external SSD or hard drive
- OneDrive with Files On-Demand (lets you view files locally, but stores them in the cloud)
Learn more from Microsoft’s Files On-Demand Guide.
9. Monitor Space Over Time
Re-run WizTree or check Settings → System → Storage → Show more categories to understand space consumption.
You’ll likely find that games, cached videos, or unused installers are the top offenders.
10. Automate Cleanups
Configure Storage Sense to:
- Run when space is low
- Delete Recycle Bin items every 14 days
- Clear temporary files older than 7 days
This helps maintain gigabytes of free space without needing to remember routine cleanups.
Final Thoughts
You don’t need to reinstall Windows or buy new storage to reclaim 20–100 GB of space. With native tools like Storage Sense, Disk Cleanup, and compacting features—plus smart third-party apps—you can clean up safely and improve system responsiveness.
Just remember:
- Always review what you delete
- Run cleanup tools as Administrator
- Consider creating a restore point before major file removals
Keep your system lean, fast, and future-proof.
Recommended
Share this post:


Post Comment