How to Use a Private DNS to Block Trackers and Malware
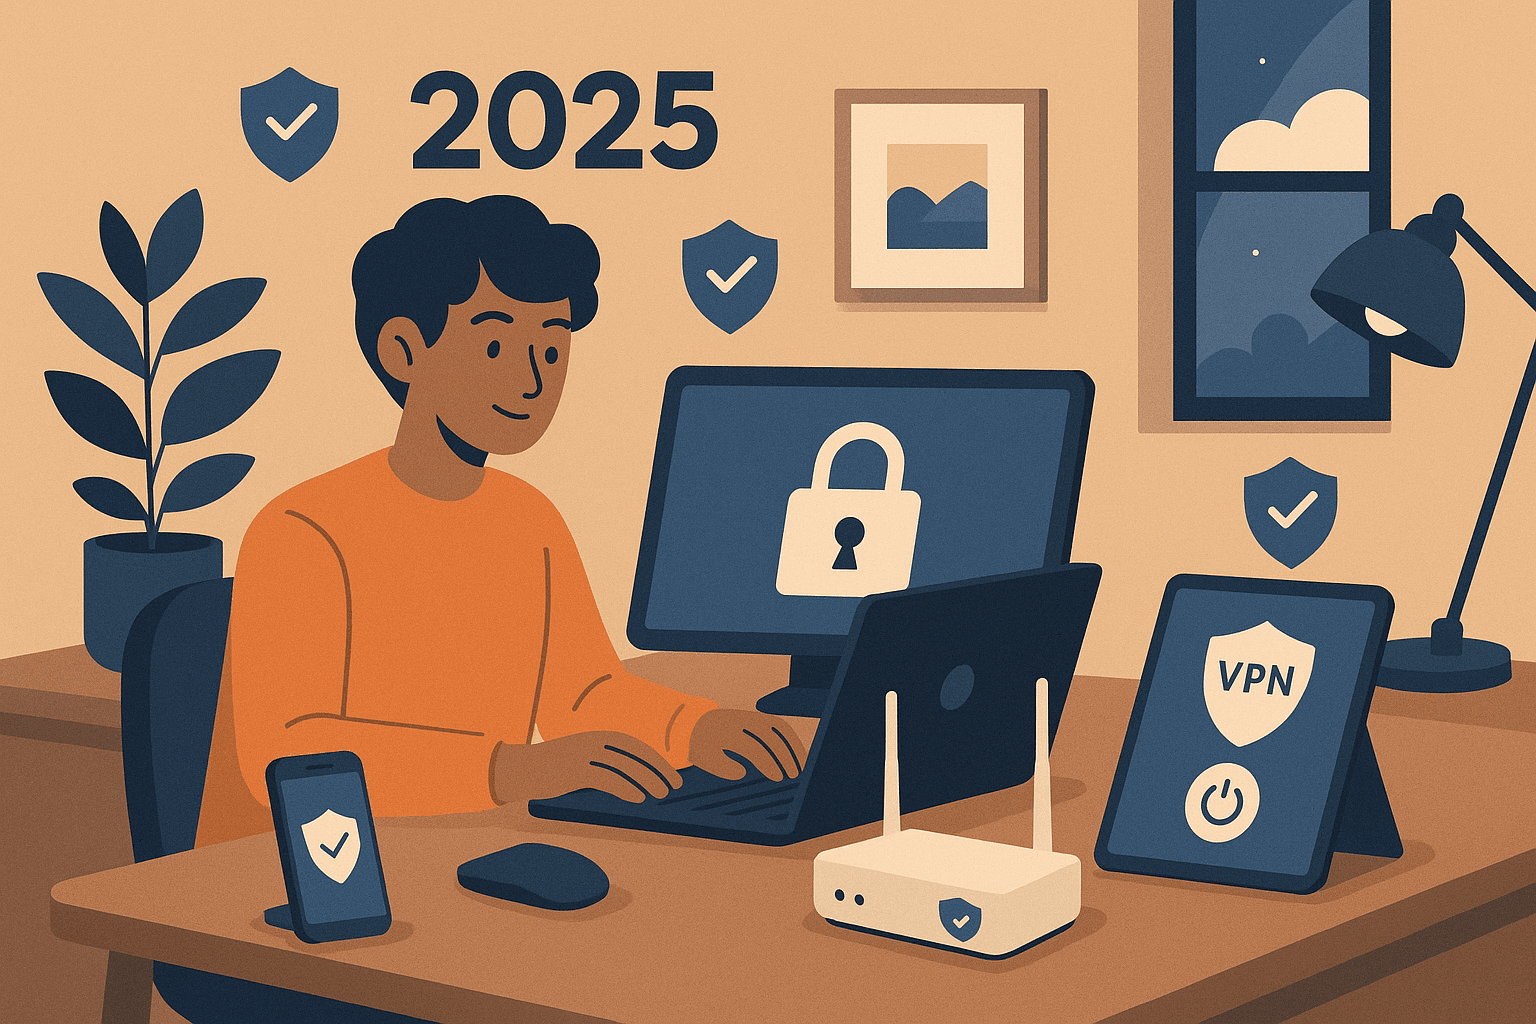
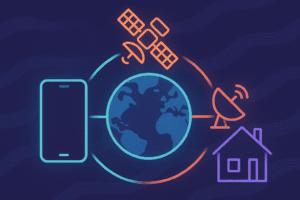
Private DNS is one of the easiest yet most underrated ways to protect your browsing privacy and security in 2025. By encrypting DNS requests (the process your device uses to convert domain names into IP addresses), you can prevent snooping, block malware, and even speed up browsing.
Here’s how it works, why it matters, and how to set it up on your devices.
What Is Private DNS?
Private DNS uses secure protocols like DNS-over-HTTPS (DoH), DNS-over-TLS (DoT), or DNS-over-QUIC (DoQ) to encrypt your DNS queries. This stops third parties — like your ISP or attackers — from seeing what websites you’re visiting.
It also prevents DNS manipulation, where attackers could redirect you to fake websites.
Why Use Private DNS in 2025?
- Protect your data from ISPs and trackers: Many ISPs still sell DNS data. Private DNS providers like NextDNS or Cloudflare enforce no-logging policies.
- Block threats before they load: Quad9 uses real-time threat intelligence to stop access to malware and phishing domains.
- Filter trackers and ads: Services like AdGuard DNS let you block ads and analytics across your entire network.
- Improve speed: Fast resolvers like Cloudflare (1.1.1.1) can reduce lookup time versus default DNS from your ISP.
Top Private DNS Providers in 2025
| Provider | Protocols | Malware Blocking | Ad Blocking | Logging Policy | Website |
|---|---|---|---|---|---|
| Cloudflare 1.1.1.1 | DoH, DoT | Optional (1.1.1.2) | No | No logs | cloudflare.com |
| Quad9 9.9.9.9 | DoH, DoT | Yes | No | No logs | quad9.net |
| AdGuard DNS | DoH, DoT, DNSCrypt | Yes | Yes | Anonymized logs | adguard-dns.io |
| NextDNS | DoH, DoT | Yes | Yes | No logs | nextdns.io |
| dns0.eu | DoH, DoT, DoQ | Yes | Yes | No logs (EU-only) | dns0.eu |
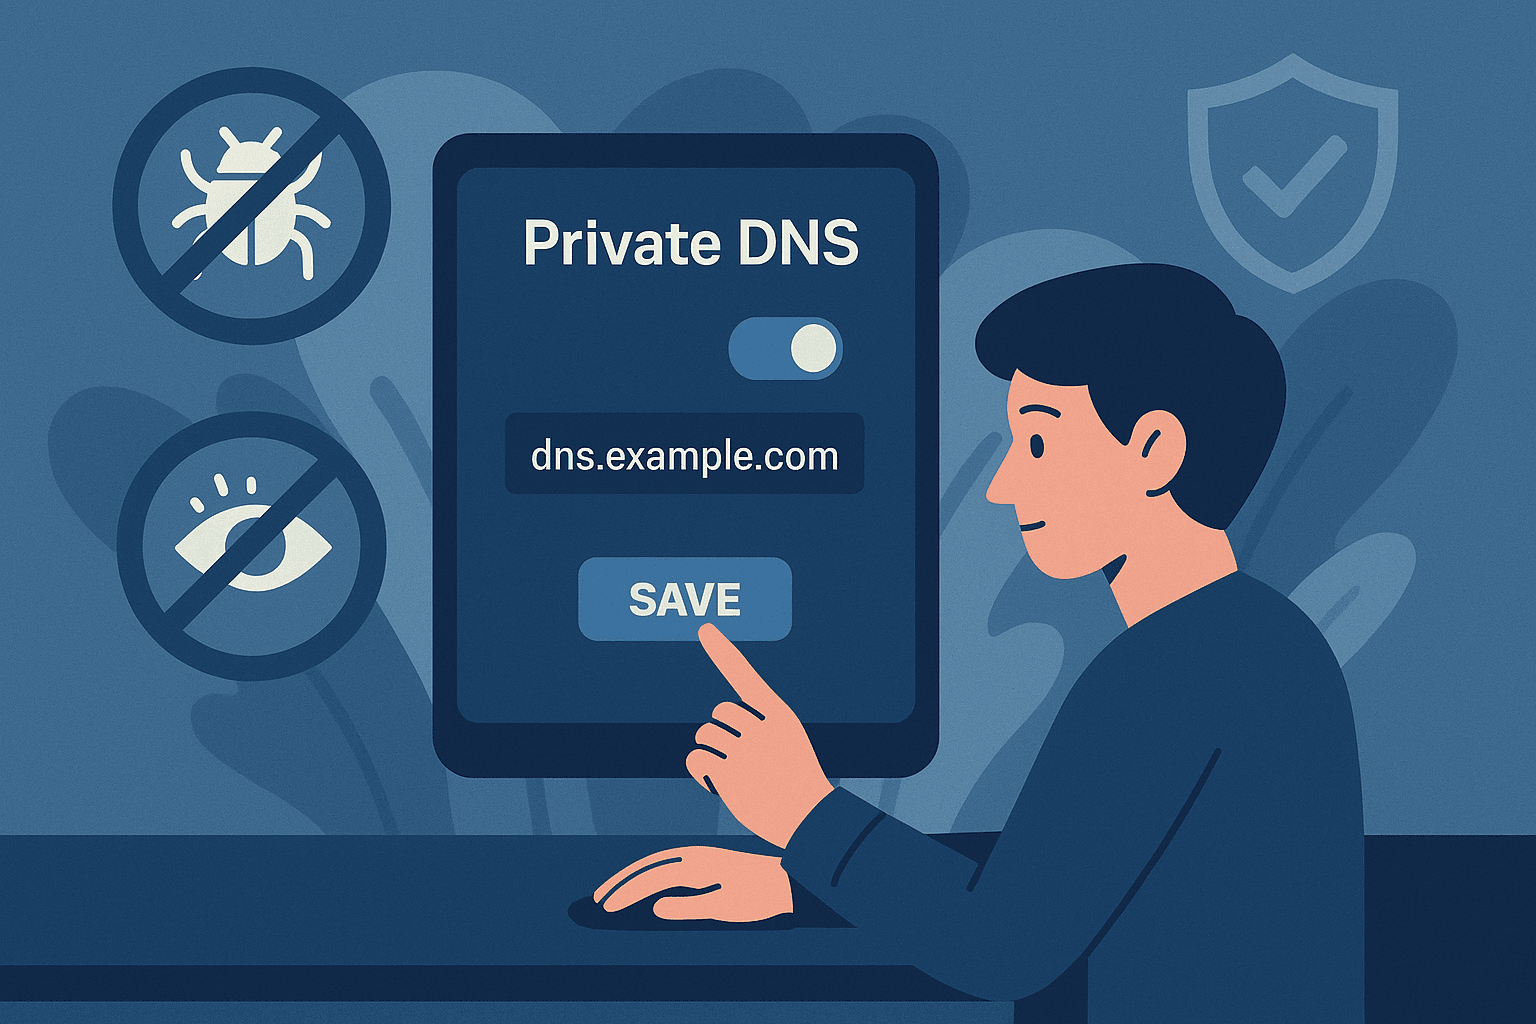
How to Enable Private DNS
Android (9+)
- Go to Settings → Network & internet → Private DNS.
- Choose Private DNS provider hostname.
- Enter a hostname (e.g.,
dns.quad9.netor1dot1dot1dot1.cloudflare-dns.com). - Tap Save.
iOS
- Go to Settings → Wi-Fi.
- Tap the “i” next to your network.
- Tap Configure DNS → Manual.
- Delete the existing servers and enter e.g.,
9.9.9.9and149.112.112.112for Quad9.
Windows 10/11
- Open Settings → Network & Internet.
- Select your connection (Wi-Fi or Ethernet).
- Go to Edit IP assignment → Manual, toggle IPv4.
- Input preferred and alternate DNS (e.g., 1.1.1.1 and 1.0.0.1).
macOS
- Go to System Settings → Network.
- Select your current network and click Details.
- Navigate to DNS tab, remove existing entries.
- Add new entries like
94.140.14.14(AdGuard) or1.1.1.1(Cloudflare).
Block Malware and Ads Network-Wide
To protect all devices on your home network (TVs, smart assistants, etc.), configure DNS at the router level:
- Log in to your router admin page (usually 192.168.0.1 or 192.168.1.1).
- Look for DNS settings under LAN or Internet settings.
- Replace the default DNS with your preferred provider.
Or go a step further and install Pi-hole — a self-hosted DNS sinkhole that blocks ads, trackers, and malicious domains for your entire network.
What Private DNS Doesn’t Do
Private DNS is powerful, but it’s not magic.
- It won’t encrypt the full content of your browsing — only the DNS query.
- It doesn’t stop apps from calling home unless they use DNS lookups.
- It can’t replace antivirus or common sense.
Pair it with a secure browser (like Brave) and limited app permissions for best results.
Final Thoughts
Using a private DNS in 2025 is a no-brainer if you care about privacy, security, and performance. It’s a low-effort change with high returns.
Pick a reputable provider, set it up once on your device or router, and enjoy a safer internet—without sacrificing speed or usability.
Share this post:


Post Comment